Photos are the first showing. A buyer scrolling listings decides in a few seconds whether your home earns a visit, and your photos are all they have to go on. The fix is mostly preparation you control: clean surfaces, good light, a level camera and a front exterior that is clear of clutter.
The National Association of REALTORS reported in a March 2, 2024 article that more than 90% of home buyers search online, and that 85% say photos are the most important factor in choosing which homes to view (NAR research, as cited in NAR’s 8 tips to make your listing picture perfect). That is why the work you do in the days before the shoot matters more than most updates you could make to the house itself.
Where sellers lose buyers before the first visit
Many sellers are not ready when the photographer shows up. A HomeJab survey of 310 professional real estate photographers, reported by NAR on January 6, 2022, found that more than half said sellers were unprepared when they arrived (see NAR’s report on that survey). The common thread is personal items, clutter and a house that looks lived in at the wrong moment, not a house that needs a renovation.
A buyer cannot smell your kitchen or feel the quiet of your street through a screen. They see surfaces, light and space. A crowded counter reads as less storage. A dark room reads as a small room. A photo with a parked car and a trash can in front reads as a home nobody looked after, even if you did.
What makes a listing photo work
Good listing photos are not artistic. They are clear, bright and honest, and they show how rooms connect. NAR’s photography guidance, from several working photographers, comes down to a handful of ideas.
Light that is even, not harsh
- Keep direct sun out of the frame. NAR’s tips suggest shooting at dusk or on overcast days, and adding lamps to dark rooms.
- Turn on every light. Replace burned-out bulbs and clean the fixtures before the shoot, and swap yellowed lampshades.
- Plan for windows. A camera set for the room can wash out the view, and one set for the view can leave the room dark. Photographers often blend several exposures (called HDR) to hold detail in both, according to a 2018 NAR article quoting photographer Brian Balduf of VHT Studios.
A camera that is level and at the right height
- Shoot at about chest height and balance floor and ceiling, per NAR’s 8 tips.
- Stand to the side of furniture, not behind it. Shooting from behind a sofa makes a room look smaller, per the same 2018 NAR article. Photographers also use a “three-wall” framing so the room has scale.
- Use a wide-angle lens, but sparingly. It helps a buyer see how large a room is, and NAR’s tips caution that overdoing it distorts small rooms.
Details the camera exposes
Flash and sharp lenses show dust, smudges and crooked frames. NAR’s tips list the usual blunders: toilet lids up, TVs left on in the background and cars in the driveway. They also advise skipping clichés such as wine glasses and bathtub candles.
See what your photos are working toward
Before you spend a weekend preparing, it helps to know what buyers will compare your home to. Get your instant home value, built from recent sales near you.
The week before: a room-by-room prep list
Start five to seven days out so you are not rushing on the morning of the shoot. If you are weighing updates too, read our guide to which pre-sale updates pay back first, because paint and lighting are usually cheaper than anything that needs a contractor.
- Clear counters and tabletops. Keep a few items per surface. Store phones, purses, drinking glasses, toothbrushes and mail out of sight, the kind of personal items NAR’s report on photo shoots names as distractions.
- Edit shelves and walls. Group books, remove extra decor, and hang art where a wall looks bare. NAR’s tips suggest art over a fireplace and tidy bookshelves.
- Clean light fixtures and windows. Dust the ceiling fan and wipe the glass. Light is the thing you are selling in a photo.
- Dust and vacuum after you stage, not before. Moving things around stirs up dust, and flash will find it.
- Do the small fixes. Straighten frames, tuck cords, fix a dripping faucet, and close closet doors that will not stay shut.
- Move the pets and their gear. Beds, bowls and litter boxes come out of the frame.
- Open every blind and turn on every lamp just before the photographer starts.
The front of the house is photo number one
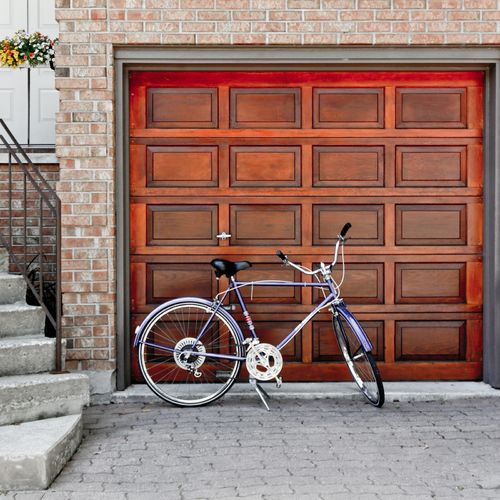
The first image in many listings is the front exterior, and it sets the tone for everything that follows. Move cars off the driveway and the curb in front. Put away hoses, bins and toys. Sweep the porch and walk, trim shrubs that block windows, and make sure the porch light and house numbers are clean. Whether the home is in the Fan, Short Pump or Midlothian, the same rule applies: the buyer should see the house, not the stuff around it.
Time of day matters outside as well. In NAR’s 2018 article, photographer Julie Legge of Charlotte Real Estate Photos recommends shooting when the sun falls on the front of the house, since an overhead sun can leave a front elevation looking dark. In November, with a lower sun and bare trees, ask your photographer when the front of your house gets the best light.
Professional photographer or your own phone?
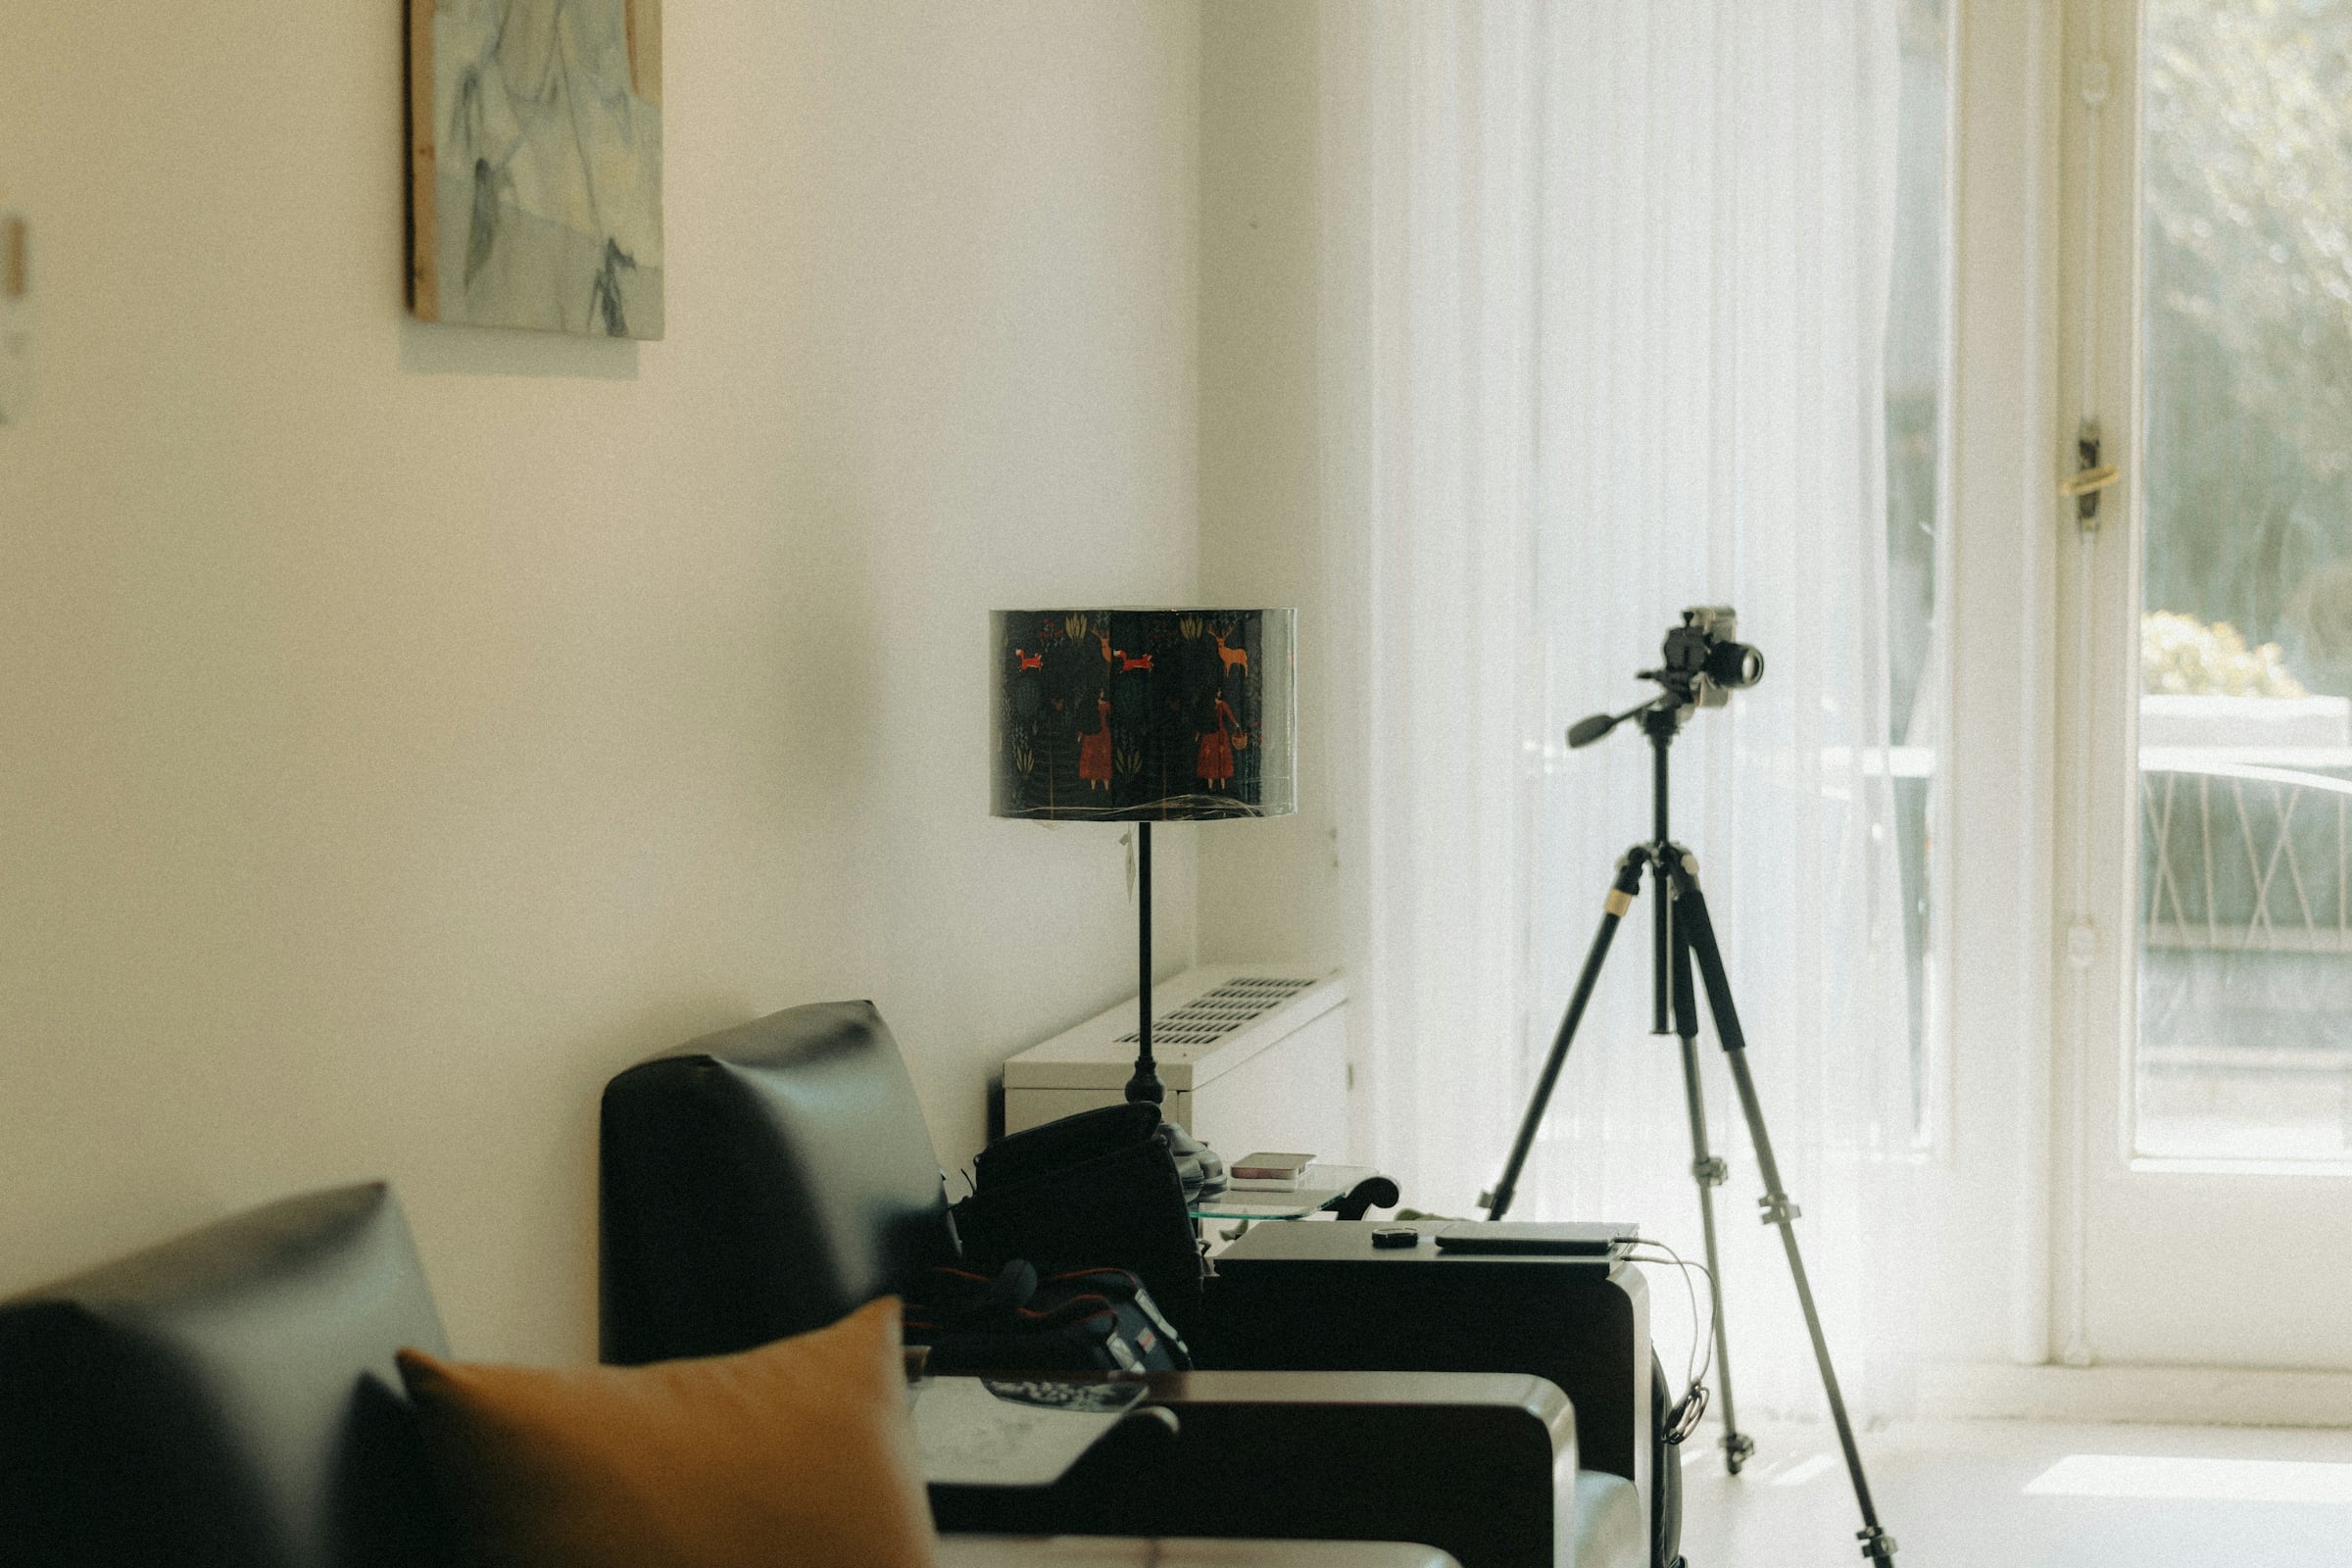
NAR’s 2018 comparison of amateur and professional photos pointed to the same problems in the weaker images: poor lighting, crooked lines and awkward angles. Those are skills, and they are equipment too, since a tripod keeps shots level and sharp and a wide lens captures a whole room.
If you plan to list with an agent, ask exactly what photography is included before you sign, and ask to see a sample set from a recent Richmond-area listing. You can browse how other homes are presented on our active listings page and in recently sold properties, and compare the first photo and the kitchen photo against what you plan to do. If you are thinking about selling on your own, our guide to selling without an agent in Virginia covers what you take on, and photography is one of the jobs on that list.
What photos cannot do
Photos get the click. They do not change the price buyers will pay. A home with excellent photos and a price above what comparable homes sold for will collect views and few showings. Photos work best alongside a price grounded in recent nearby sales, which is what our seller page walks through, and with a home that matches what the pictures show. If you want to talk through your plan with a person, meet our team.
Day of the shoot
Plan to be out of the house, with pets, if you can. A photographer works faster and sees the rooms more clearly without people moving through the frame. Walk the house once yourself before they arrive and ask them to check the list: lights on, blinds open, TVs off, lids down, cars gone. Ask when you will get the edited photos and whether you can review them before they go live, since a room that looks off in a photo is easy to fix before it posts and awkward to fix after.
When your photos are posted, look at them the way a buyer would, on a phone, in a list, at thumbnail size. If the first image does not make you want to click, tell your agent. It is the cheapest change you can make to a listing.
Photos are half of the sale, price is the other half
Once the house is ready for the camera, the next question is what buyers will pay for it. Get your instant home value, built from recent sales near you.
Frequently asked questions
Can I take the listing photos myself with a phone?
You can, but NAR’s 2018 photo guidance notes that smartphones struggle in low light, and a tripod helps keep images level and sharp. Taking them at midday with every light on helps. Keep the camera at chest height, avoid shooting straight at bright windows, and retake any room that looks dark or tilted. Ask your agent whether the MLS has any requirements for photo size or order.
Should I stage the home or leave my furniture?
Keep furniture that makes the room’s purpose clear and remove what blocks walkways or crowds a room. NAR’s tips suggest simple touches such as a throw blanket or white orchids rather than props. Our guide to pre-sale updates covers which changes are worth paying for.
What if my yard looks bare in November?
Keep it tidy and honest. Rake leaves, clear the walk and edge beds, and ask your photographer whether to shoot the exterior in the afternoon sun. Your agent can also tell you whether to add photos of the yard once spring growth returns.
Do I have to leave during the shoot?
No rule requires it, but it helps. Fewer people in the house means fewer items to move and a faster, cleaner shoot. If you stay, keep out of the rooms being photographed.
How many photos should a listing have?
Enough to show the exterior, every room, the main storage areas and any feature buyers ask about, such as a deck, garage or basement. Ask your agent how the MLS sorts photos so the strongest ones come first.
Is virtual staging a good idea?
It can help buyers picture an empty room, but photos must not mislead. Ask your agent how virtual staging is labeled, and keep at least one unaltered photo of any room you stage this way.
Should I show problem areas in photos?
You do not need to photograph a bad spot, but you must not hide a known defect from buyers or misstate it. Disclosure rules are a legal topic, so this is general information, not legal advice. Ask a Virginia real estate attorney about your situation.
Can I request a re-shoot if the photos look wrong?
Ask. A lighting problem or a missed room is a reasonable request. Review the photos before they go live so any fix is quick.